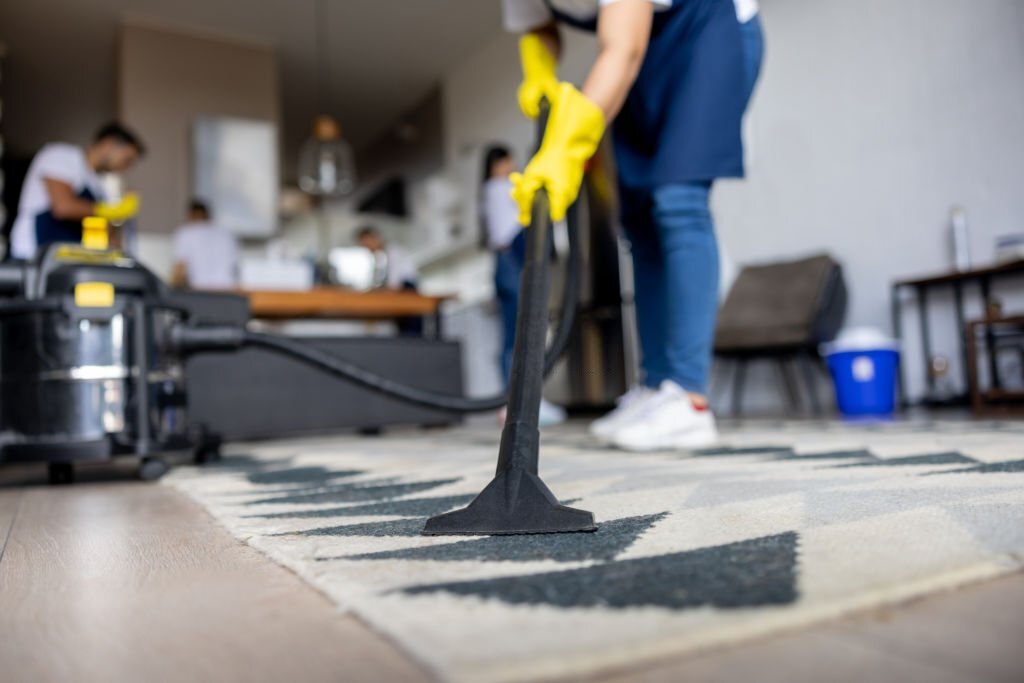
Are you tired of your dirty and stained carpets? Do you want to bring back the fresh, clean look to your home without breaking the bank? Look no further! In this step-by-step tutorial, we will unveil the secrets of DIY carpet cleaning that will leave your carpets looking like new.
Cleaning your carpets can seem like a daunting task, but with the right techniques and tools, it can actually be quite simple. We will guide you through each step, from preparing your carpet for cleaning to choosing the best cleaning solution and using the right equipment. You’ll learn tips and tricks that professional cleaners use to achieve great results.
Not only will DIY carpet cleaning save you money, but it also gives you the satisfaction of knowing that you can achieve professional-level results on your own. So say goodbye to expensive professional cleaning services, and hello to a fresh, clean home! Join us as we dive into the secrets of carpet cleaning and discover how to bring new life to your carpets. Get ready to transform your home with our step-by-step tutorial.
The Importance of Carpet Cleaning
Maintaining clean carpets is crucial not only for the aesthetics of your home but also for the health and well-being of your family. Carpets can harbor dust, dirt, allergens, and even bacteria if not cleaned regularly. Regular carpet cleaning can help improve indoor air quality, reduce allergens, and prolong the life of your carpets. By investing time in DIY carpet cleaning, you are investing in the cleanliness and longevity of your home environment.
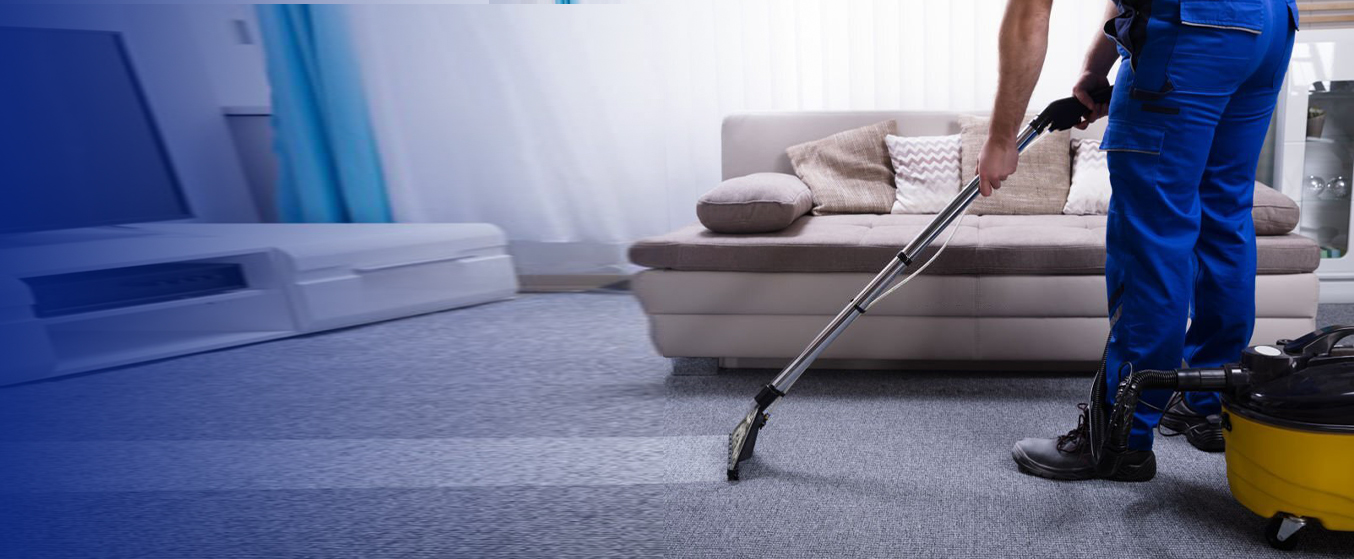
DIY Carpet Cleaning vs. Professional Carpet Cleaning
Professional carpet cleaning services can be expensive, and scheduling appointments can be inconvenient. DIY carpet cleaning offers a cost-effective and convenient alternative that allows you to clean your carpets on your own schedule. While professional cleaners may have access to specialized equipment, you can achieve excellent results with the right tools and techniques at home. DIY carpet cleaning also gives you the flexibility to spot clean as needed, without having to wait for a professional cleaning service.
Step 1: Gathering the Necessary Tools and Supplies
Before you begin the carpet cleaning process, it’s essential to gather all the necessary tools and supplies. You will need a vacuum cleaner, carpet cleaning solution (either store-bought or homemade), a bucket, a scrub brush or sponge, clean white cloths or towels, and a carpet cleaning machine or steam cleaner (optional). Make sure to read the manufacturer’s instructions for any cleaning products or equipment you plan to use to ensure safe and effective cleaning.
Proper preparation is key to achieving great results when cleaning your carpets. Start by removing any furniture from the area you plan to clean. Vacuum the carpet thoroughly to remove loose dirt, dust, and debris. Use attachments to clean along baseboards and in corners. Pre-treat any stubborn stains or high-traffic areas with a stain remover or pre-spray solution. By preparing your carpet properly, you will make the cleaning process more efficient and effective.
Step 2: Preparing the Carpet for Cleaning
Once you have gathered your tools and prepared the area, it’s time to prepare the carpet for cleaning. Test the cleaning solution on a small, inconspicuous area of the carpet to check for colorfastness and compatibility. If the color does not transfer onto the cloth and the carpet does not change color, it is safe to proceed with cleaning. It’s also a good idea to open windows or turn on fans to improve ventilation during the cleaning process.
Next, mix the cleaning solution according to the manufacturer’s instructions or your homemade recipe. Avoid using too much detergent, as it can leave a sticky residue that attracts dirt. Start cleaning in the farthest corner of the room and work your way toward the door to avoid stepping on the wet carpet. Use a back-and-forth motion with the cleaning tool to ensure even coverage. Take your time and be thorough to remove as much dirt and grime as possible.
Step 3: Choosing the Right Cleaning Method for Your Carpet Type
Different carpet fibers and materials require different cleaning methods to avoid damage. Check the manufacturer’s recommendations for your carpet type before choosing a cleaning method. For example, wool carpets may require a gentler cleaning solution, while synthetic carpets can withstand stronger detergents. Always test a small area first to ensure that the cleaning solution is safe and effective for your carpet.
There are various cleaning methods to choose from, including dry cleaning, steam cleaning, and foam cleaning. Dry cleaning involves using a powder or foam that absorbs dirt and is then vacuumed away. Steam cleaning uses hot water extraction to deep clean carpets and remove dirt and stains. Foam cleaning uses a foaming detergent that traps dirt, which is then vacuumed away. Select the method that best suits your carpet type and the level of cleaning required.
Step 4: Applying the Cleaning Solution
Now that you have prepared the carpet and chosen the right cleaning method, it’s time to apply the cleaning solution. Work in small sections to ensure thorough cleaning. Apply the solution according to the manufacturer’s instructions, starting from the farthest corner of the room and working toward the door. Use a pump sprayer or a spray bottle to apply the solution evenly over the carpet.
Allow the cleaning solution to dwell on the carpet for the recommended time to break down dirt and stains. Avoid oversaturating the carpet, as excessive moisture can lead to mold and mildew growth. Use a scrub brush or sponge to work the solution into the carpet fibers, focusing on stained or high-traffic areas. Be gentle to avoid damaging the carpet fibers. Once you have covered the entire carpet, let the solution sit for the specified time before moving on to the next step.
Step 5: Scrubbing and Removing Stains
Stubborn stains and heavily soiled areas may require additional scrubbing to lift dirt and grime. Use a scrub brush or sponge to gently agitate the carpet fibers and work the cleaning solution into the stains. Avoid scrubbing too vigorously, as this can damage the carpet pile. Blot the area with a clean white cloth or towel to absorb excess moisture and lift away dirt and stains.
For tough stains like pet urine or red wine, you may need to repeat the cleaning process multiple times to fully remove the stain. Avoid using harsh chemicals or bleach, as these can damage the carpet fibers and cause discoloration. Instead, opt for a carpet-friendly stain remover or a homemade cleaning solution like vinegar and baking soda. With patience and persistence, you can effectively remove even the toughest stains from your carpets.
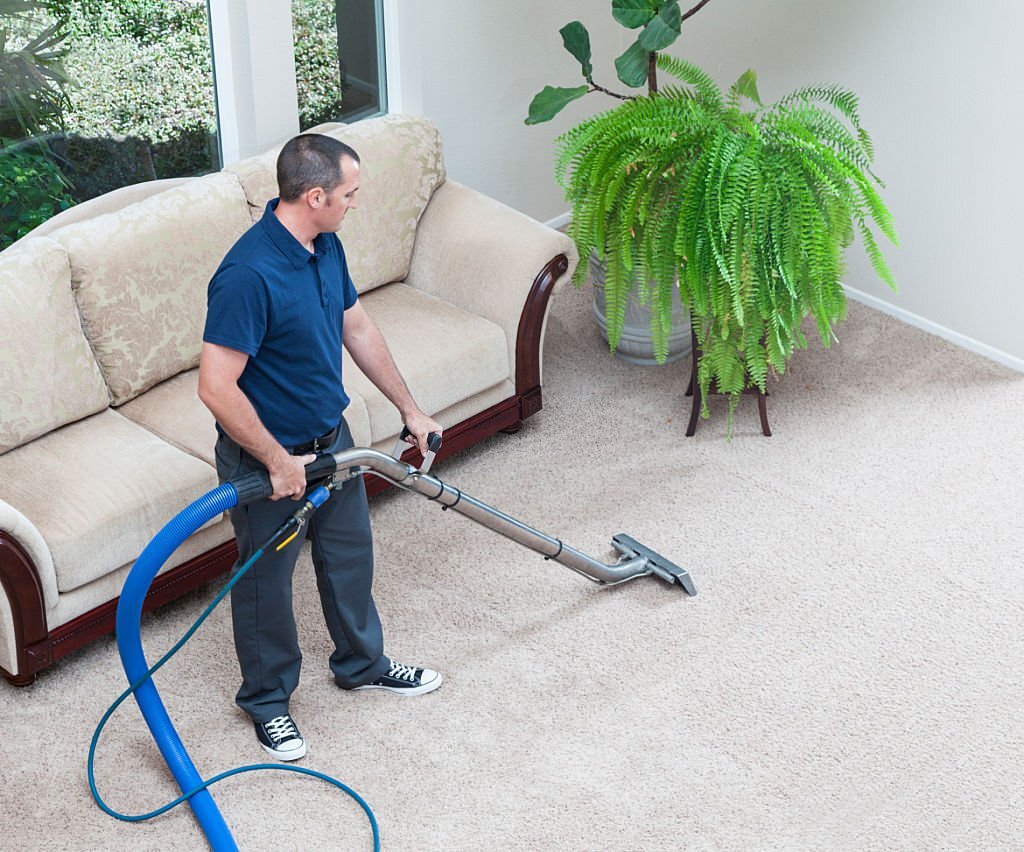
Step 6: Extracting the Dirt and Moisture
After scrubbing and removing stains, it’s time to extract the dirt and moisture from the carpet. If you have a carpet cleaning machine or steam cleaner, follow the manufacturer’s instructions for use. Work in small sections, using slow and steady strokes to extract as much water and dirt as possible. Empty the dirty water tank regularly to prevent reapplying dirt to the carpet.
If you do not have a carpet cleaning machine, you can rent one from a local hardware store or use alternative methods like blotting with clean towels or using a wet-dry vacuum. Blot the carpet with clean white towels to absorb excess moisture and speed up the drying process. Open windows or turn on fans to improve air circulation and aid in drying. Allow the carpet to dry completely before replacing furniture and resuming normal foot traffic.
Step 7: Drying and Finishing Touches
Proper drying is essential to prevent mold and mildew growth in your carpets. After extracting excess moisture, allow the carpet to air dry completely before walking on it. Avoid replacing furniture or rugs until the carpet is fully dry to prevent staining and damage. If needed, use a dehumidifier or fans to speed up the drying process. Once the carpet is dry, vacuum it again to lift the carpet fibers and restore their appearance.
To add a fresh scent to your newly cleaned carpets, sprinkle baking soda over the carpet and let it sit for a few hours before vacuuming. Baking soda helps absorb odors and leaves your carpets smelling clean and fresh. Consider using a carpet protectant spray to prolong the cleanliness of your carpets and prevent future stains. With proper care and maintenance, your carpets will stay looking like new for years to come.
Common Carpet Cleaning Mistakes to Avoid
While DIY carpet cleaning can be a rewarding and cost-effective way to maintain clean carpets, there are some common mistakes to avoid. Over-wetting the carpet can lead to mold and mildew growth, so be sure to extract as much moisture as possible during the cleaning process. Using too much detergent can leave a sticky residue that attracts dirt, so follow the manufacturer’s instructions for dilution and application.
Avoid using harsh chemicals or bleach on your carpets, as these can damage the fibers and cause discoloration. Always test cleaning solutions on a small, inconspicuous area of the carpet before applying them to the entire carpet. Skipping regular vacuuming and maintenance can also lead to dirt buildup and make cleaning more challenging. By following these tips and techniques, you can achieve professional-level results with DIY carpet cleaning. In conclusion, DIY carpet cleaning is a cost-effective and rewarding way to maintain clean and fresh carpets in your home. By following the step-by-step tutorial and using the right tools and techniques, you can achieve professional-level results without the high cost of professional cleaning services. Take the time to properly prepare your carpet, choose the right cleaning method, and avoid common mistakes to ensure a successful cleaning experience. Say goodbye to dirty, stained carpets and hello to a fresh, clean home with DIY carpet cleaning!