The Ultimate Guide to Upholstery Cleaning: Tips and Tricks for a Refreshed Living Space
Introduction
Are you tired of looking at your worn-out furniture and dreaming of a fresh and inviting living space? Look no further! Welcome to the ultimate guide to upholstery cleaning, where we will share with you the top tips and tricks to revitalize your beloved furniture.
Whether you have a luxurious sofa, a cozy armchair, or elegant dining chairs, this guide has got you covered. We understand that cleaning upholstery can be a daunting task, but with the right knowledge and techniques, you can achieve remarkable results.
From removing stains to banishing odors, we will walk you through step-by-step instructions and expert advice to ensure your upholstery looks and feels brand new. Say goodbye to dirt, grime, and allergens, and say hello to a refreshed living space that you can be proud of. Get ready to discover the secrets of upholstery cleaning or carpet cleaning and transform your home into a haven of comfort and style. Let’s dive in!
Importance of Regular Upholstery Cleaning
Regular upholstery cleaning is crucial to maintain the longevity and appearance of your furniture. Over time, dust, dirt, and allergens can accumulate on your upholstery, leading to a dull and unclean look. Additionally, neglecting to clean your upholstery can result in the growth of bacteria and mold, which can pose health risks to you and your family.
By incorporating regular upholstery cleaning into your cleaning routine, you can extend the life of your furniture and improve the overall air quality in your home. Not only will your furniture look and feel cleaner, but you will also create a healthier living environment for everyone to enjoy.
To ensure effective and efficient cleaning, it’s important to avoid common mistakes that can damage your upholstery.
Common Upholstery Cleaning Mistakes to Avoid
To achieve the best results when cleaning your upholstery, it’s important to avoid these common mistakes:
1. Using the wrong cleaning products: Different types of upholstery require specific cleaning solutions. Using the wrong products can cause discoloration or damage to the fabric. Always check the manufacturer’s instructions or consult a professional to determine the best cleaning method for your specific upholstery.
2. Not testing cleaning products: Before applying any cleaning solution to your upholstery, it’s essential to test it on a small, inconspicuous area. This will help you determine if the product is safe to use and won’t cause any adverse effects.
3. Scrubbing vigorously: When cleaning upholstery, it’s important to be gentle and avoid scrubbing vigorously. Excessive force can damage the fabric and leave behind unsightly marks. Instead, use a soft brush or cloth and gently blot the stains or dirt.
4. Over-wetting the upholstery: Excessive moisture can lead to mold and mildew growth, as well as cause the upholstery to shrink or lose its shape. Be mindful of the amount of water or cleaning solution you use and ensure proper drying after cleaning.
Understanding and avoiding these mistakes will help you achieve the best results when rug cleaning or cleaning your upholstery. Now, let’s delve into the different types of upholstery materials and how to clean them effectively.
Understanding Different Types of Upholstery Materials
Upholstery materials come in various types, each requiring specific cleaning methods. Understanding the characteristics of different upholstery materials is essential to ensure proper care and maintenance. Here are some common upholstery materials and how to clean them:
- Fabric: Fabric upholstery is popular due to its versatility and comfort. To clean fabric upholstery, start by vacuuming the surface to remove loose dirt and debris. Next, check the cleaning instructions provided by the manufacturer. Some fabric upholstery can be cleaned with a mild detergent and water solution, while others may require professional cleaning. Always test any cleaning solution on a small, inconspicuous area before applying it to the entire upholstery.
- Leather: Leather upholstery exudes elegance and sophistication. To clean leather upholstery, begin by wiping it with a soft cloth or vacuuming it using a soft brush attachment to remove loose dirt. For regular maintenance, wipe the leather upholstery with a damp cloth and mild soap solution. Avoid using excessive water or harsh cleaning agents, as they can damage the leather. Additionally, it’s important to condition the leather periodically to keep it soft and supple.
- Microfiber: Microfiber upholstery is known for its durability and stain resistance. To clean microfiber upholstery, start by vacuuming it to remove loose dirt and dust. Next, use a mild detergent and water solution or a specialized microfiber cleaning product to spot clean any stains. Gently blot the stain with a clean cloth, working from the outside in to prevent spreading. Allow the upholstery to air dry, and then brush the fabric with a soft brush to restore its texture.
By understanding the specific cleaning requirements of different upholstery materials, you can effectively clean and maintain your furniture. In the next section, we will discuss how to prepare for upholstery cleaning.
Preparing for Upholstery Cleaning
Before you begin the upholstery cleaning process, it’s important to prepare your space and gather the necessary tools and supplies. Proper preparation will ensure that the cleaning process goes smoothly and efficiently. Here’s how to prepare for upholstery cleaning:
- Remove any loose items: Clear the furniture of any loose items such as pillows, throws, or decorative objects. This will make it easier to clean the upholstery and prevent any items from getting in the way.
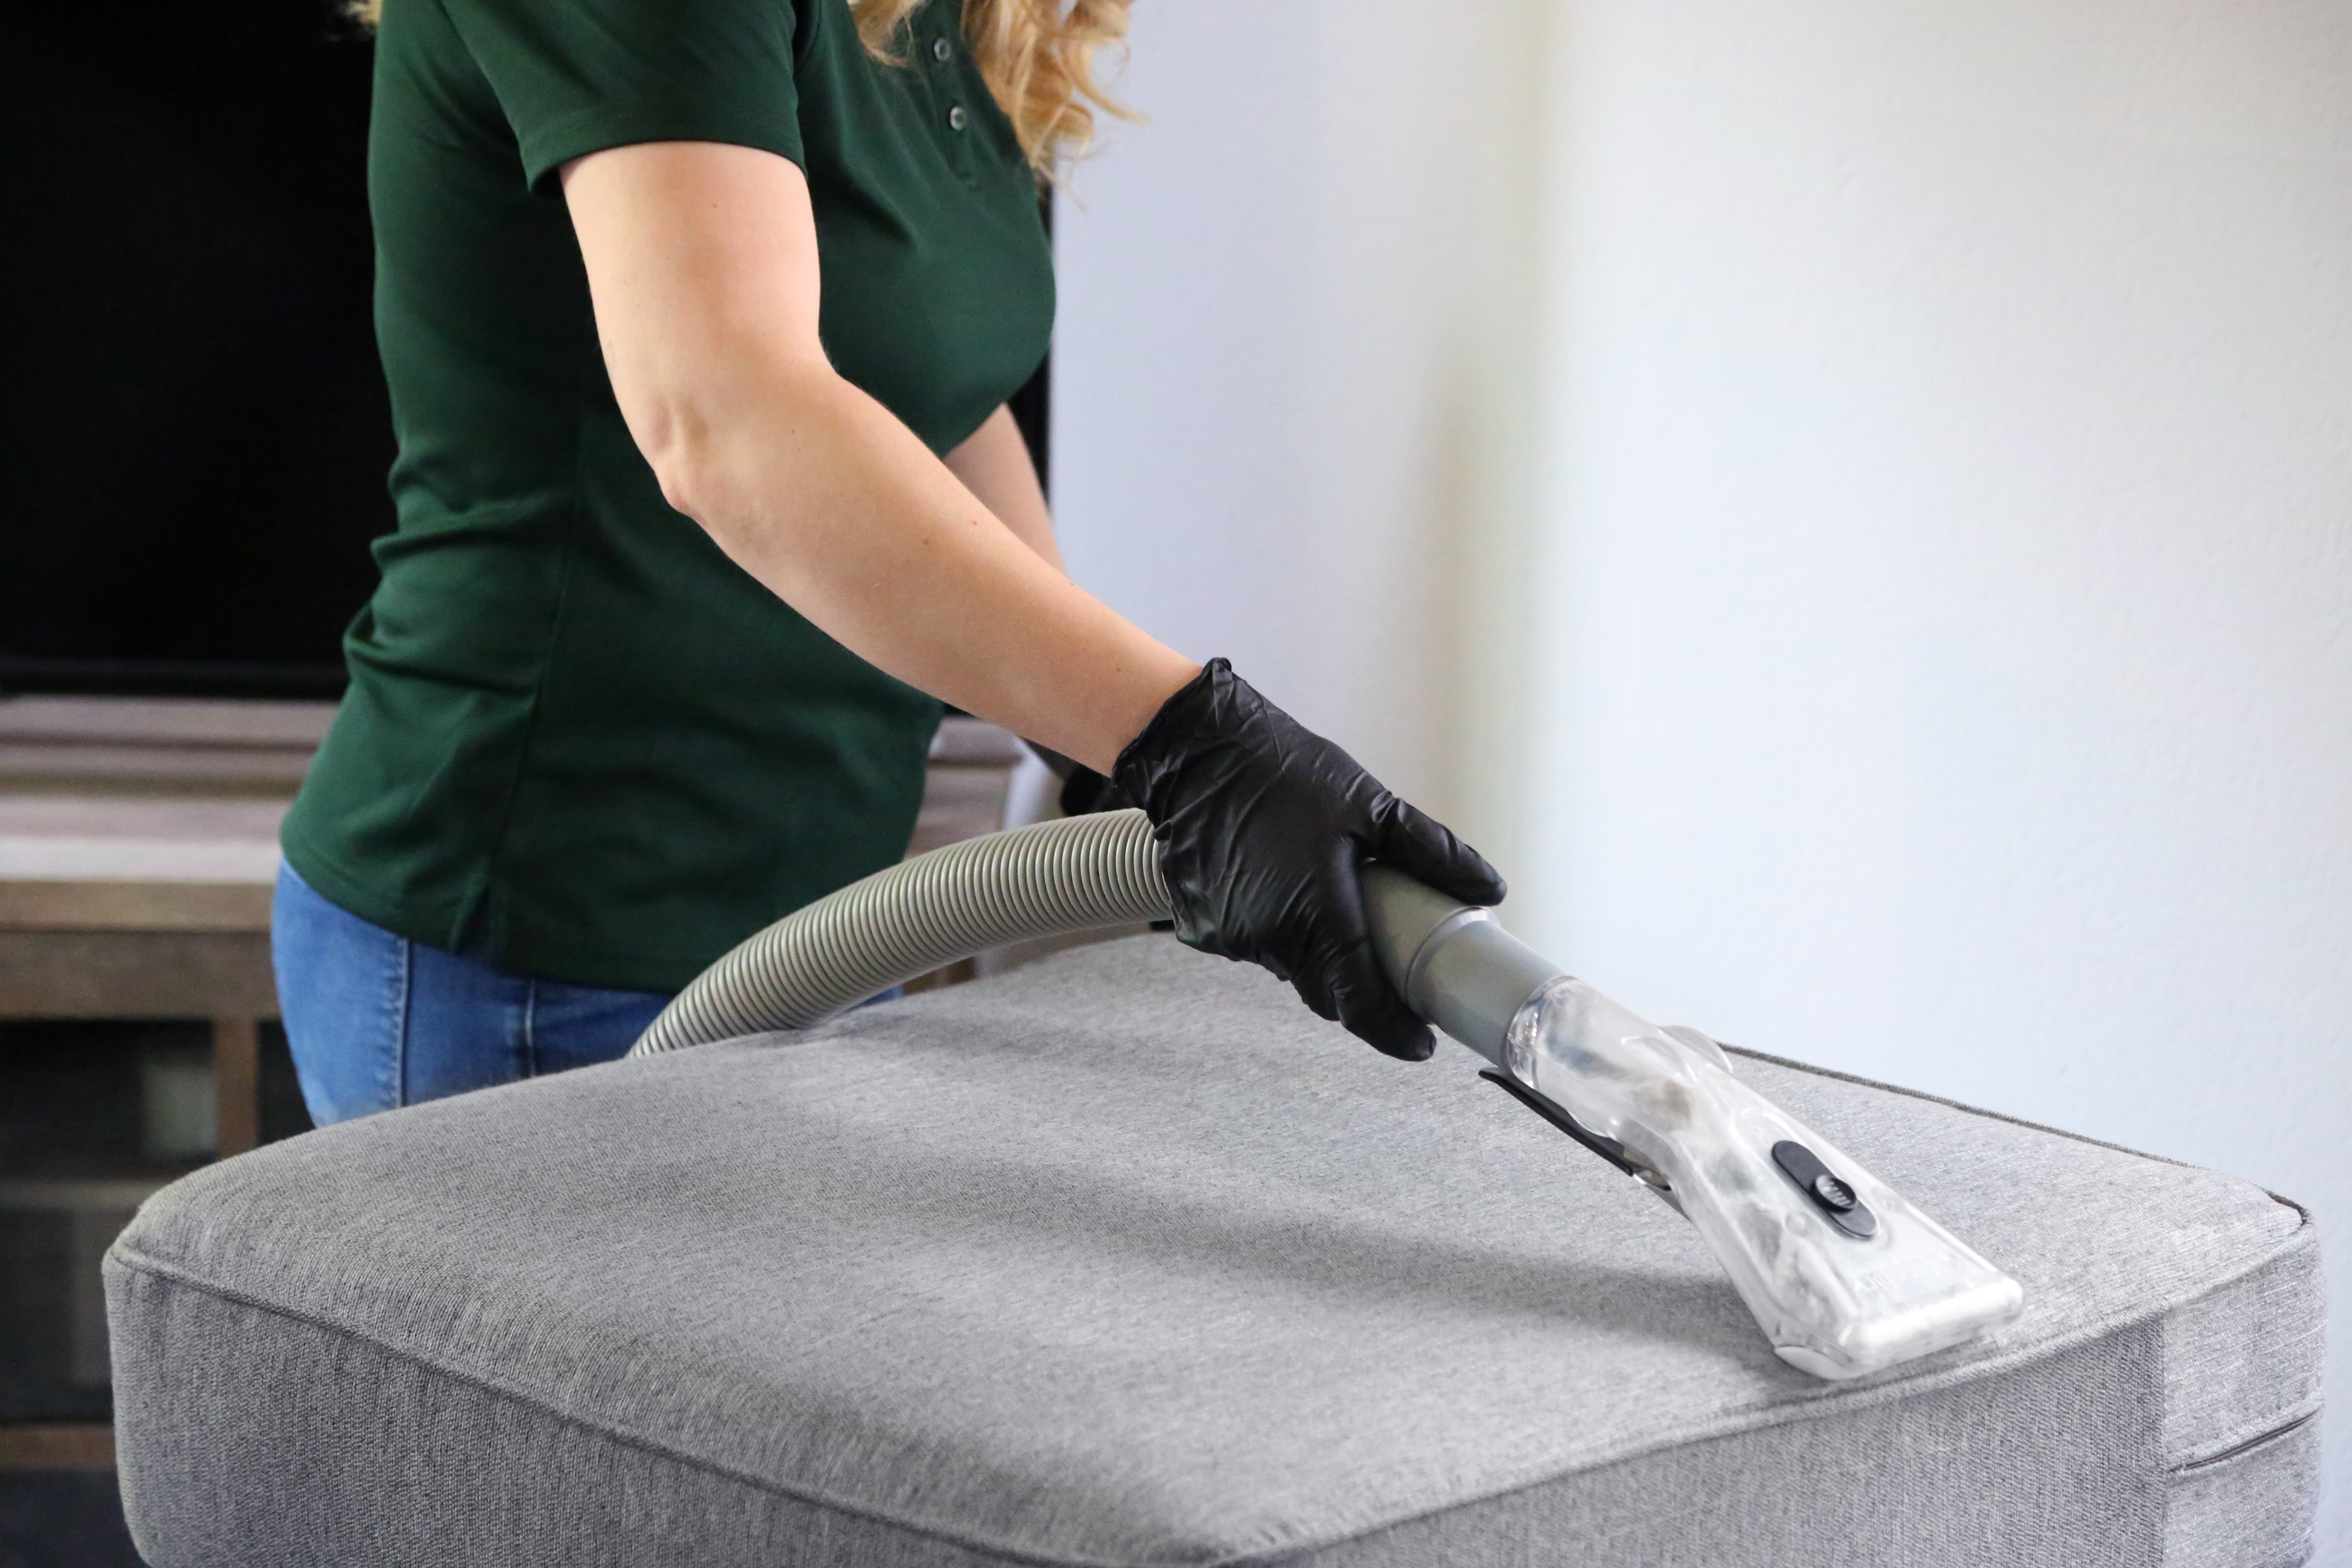
- Vacuum the upholstery: Before cleaning, vacuum the upholstery to remove loose dirt, dust, and debris. Use a vacuum cleaner with a soft brush attachment to avoid scratching or damaging the fabric.
- Identify and treat stains: Take note of any visible stains or spots on the upholstery. Pre-treat these areas with a suitable stain remover or cleaning solution, following the manufacturer’s instructions. This will help loosen the stains and make them easier to remove during the cleaning process.
- Gather the necessary tools and supplies: Ensure you have all the tools and supplies needed for upholstery cleaning. This may include a bucket, mild detergent, water, a soft brush or cloth, a stain remover, and protective gloves. Having everything ready in advance will save you time and prevent interruptions during the cleaning process.
By preparing your space and gathering the necessary tools and supplies, you will be ready to tackle the upholstery cleaning process effectively. In the next section, we will discuss the essential tools and supplies needed for upholstery cleaning.
Essential Tools and Supplies for Upholstery Cleaning
To achieve optimal results when cleaning your upholstery, it’s important to have the right tools and supplies on hand. Here are the essential items you will need for upholstery cleaning:
- Vacuum cleaner: A vacuum cleaner with a soft brush attachment is essential for removing loose dirt and debris from your upholstery. This will help prepare the upholstery for a deeper clean.
- Soft brush or cloth: A soft brush or cloth is used to gently agitate the upholstery and remove dirt and stains. Choose a brush or cloth that is suitable for the fabric of your upholstery to avoid causing any damage.
- Bucket: A bucket is necessary for diluting cleaning solutions and for rinsing out cloths or brushes during the cleaning process. Opt for a bucket with a comfortable grip and a suitable size for your cleaning needs.
- Mild detergent: A mild detergent is used to create a cleaning solution for fabric upholstery. Look for a detergent that is suitable for upholstery and does not contain harsh chemicals or bleach.
- Water: Water is an essential component of the cleaning solution. Ensure you have access to clean water for diluting cleaning products and rinsing out cloths or brushes.
- Stain remover: A stain remover is a valuable tool for tackling stubborn stains on upholstery. Choose a stain remover that is suitable for the type of fabric you are cleaning and follow the instructions provided by the manufacturer.
- Protective gloves: Protective gloves are recommended to protect your hands from cleaning solutions and potential allergens. Opt for gloves that are comfortable and provide adequate protection.
Having these essential tools and supplies readily available will make the upholstery cleaning process much more efficient and effective. Now that you are equipped with the necessary tools, let’s dive into the step-by-step guide to upholstery cleaning.
Step-by-Step Guide to Upholstery Cleaning
Cleaning your upholstery doesn’t have to be a daunting task. With the right approach and techniques, you can achieve remarkable results. Follow this step-by-step guide to upholstery cleaning to revitalize your furniture:
Step 1: Prepare the upholstery: Clear the furniture of any loose items and vacuum the upholstery to remove loose dirt and debris. Identify and treat any stains or spots with a suitable stain remover or cleaning solution.
Step 2: Test the cleaning solution: Before applying any cleaning solution to the entire upholstery, test it on a small, inconspicuous area. This will help ensure that the solution does not cause any adverse effects or discoloration.
Step 3: Create a cleaning solution: Depending on the type of upholstery, create a cleaning solution by diluting a mild detergent with water. Follow the manufacturer’s instructions for the appropriate ratio of detergent to water.
Step 4: Apply the cleaning solution: Dip a soft brush or cloth into the cleaning solution and gently agitate the upholstery. Work in small sections, starting from the top and moving down. Be careful not to oversaturate the fabric.
Step 5: Blot and rinse: After applying the cleaning solution, blot the upholstery with a clean cloth to absorb any excess moisture and dirt. Rinse out the cloth frequently to prevent reapplying dirt to the upholstery.
Step 6: Remove stains: For stubborn stains, use a specialized stain remover or cleaning solution. Follow the instructions provided by the manufacturer and gently blot the stain until it is lifted.
Step 7: Dry the upholstery: Allow the upholstery to air dry naturally. Avoid using excessive heat or direct sunlight, as this can cause shrinkage or fading. Use fans or open windows to facilitate the drying process.
Step 8: Brush the fabric: Once the upholstery is dry, use a soft brush to restore the texture of the fabric. Gently brush the fabric in the direction of the fibers to bring back its original look and feel.
By following this step-by-step guide, you can effectively clean your upholstery and achieve remarkable results. In the next section, we will provide tips for removing different types of stains from upholstery.
Tips for Removing Different Types of Stains from Upholstery
Stains on upholstery can be a common occurrence, but with the right techniques, they can be effectively removed. Here are some tips for removing different types of stains from upholstery:
- Food and beverage stains: Blot the stain immediately with a clean cloth or paper towel to absorb any excess liquid. Avoid rubbing the stain, as this can cause it to spread. Apply a mild detergent and water solution to the stain and gently blot until the stain is lifted. Rinse the area with clean water and blot dry.
- Ink stains: To remove ink stains from upholstery, apply rubbing alcohol to a clean cloth and gently blot the stain. Continue blotting until the ink is lifted. Rinse the area with clean water and blot dry.
- Grease and oil stains: Sprinkle baking soda or cornstarch over the stain and let it sit for a few minutes to absorb the grease or oil. Gently brush off the powder and apply a small amount of dish soap to a clean cloth. Blot the stain with the cloth until it is lifted. Rinse the area with clean water and blot dry.
- Pet stains: Blot the stain immediately with a clean cloth or paper towel to absorb any excess liquid. Mix a solution of white vinegar and water in equal parts and apply it to the stain. Blot the stain with a clean cloth until it is lifted. Rinse the area with clean water and blot dry.
- Blood stains: Blot the stain immediately with a clean cloth or paper towel to absorb any excess liquid. Mix a solution of hydrogen peroxide and water in equal parts and apply it to the stain. Blot the stain with a clean cloth until it is lifted. Rinse the area with clean water and blot dry.
Remember to always test any cleaning solution on a small, inconspicuous area before applying it to the entire stain. By following these tips, you can effectively remove different types of stains from your upholstery. In the next section, we will discuss upholstery cleaning for specific furniture pieces.
Upholstery Cleaning for Specific Furniture Pieces
Different furniture pieces require specific cleaning techniques to ensure optimal results. In this section, we will explore upholstery cleaning methods for specific furniture pieces:
- Sofas and couches: Sofas and couches are often the focal point of the living room and can accumulate a significant amount of dirt and stains. To clean a sofa or couch, follow the general upholstery cleaning steps mentioned earlier. Pay special attention to the seat cushions, armrests, and any visible stains. Use a soft brush or cloth to gently clean the fabric, and ensure proper drying to prevent any moisture-related issues.
- Chairs: Chairs, such as dining chairs or accent chairs, can also benefit from regular upholstery cleaning. Follow the general upholstery cleaning steps mentioned earlier, focusing on any visible stains or dirt. Pay attention to the crevices and corners of the chair, as these areas can harbor dirt and dust. Use a soft brush or cloth to clean the upholstery, and ensure proper drying before using the chairs again.
- Mattresses: Mattresses can harbor dust mites, allergens, and stains, making regular cleaning essential. To clean a mattress, start by vacuuming the surface to remove any loose dirt and debris. Treat any visible stains with a suitable stain remover or cleaning solution. Next, sprinkle baking soda over the entire mattress and let it sit for a few hours to absorb odors. Vacuum the baking soda off the mattress, ensuring all residue is removed. Finally, air out the mattress and allow it to fully dry before covering it.
By following these upholstery cleaning methods for specific furniture pieces, you can maintain the cleanliness and appearance of your beloved furniture.


